Mystical Color Changing Candle
What you'll need for this project:
Resin Mold
Heat Source (I use a hot plate)
9 oz jar
Candle Making Kit
This candle-making kit has everything you need to make basic soy candles. We're going to take it up a notch with this tutorial, so you will also need the items above to create this mystical creation.

This Resin Mold is Essential for this project

These jars are another essential for this project. If you don't want to buy the case of 12 find a jar with the same dimensions that hold 9 oz of soy wax.

I use a hot plate for my heat source. You can do this on the stove with a double boiler if you choose, for me, it's easier with the hot plate.

- We're going to start by using the largest of the molds in the pack of mold you purchased. Take some alcohol and clean the mold well.
- Next, we're going to heat our soy wax in the melting pot that came in your kit, stirring occasionally, until it reaches 185 degrees Fahrenheit and then remove it from the heat source. Crumble a few pieces of the dye chips in your hand (in the color of your choice while remembering this is what color the white candle will change to when burning) and stir into your melted wax for two minutes. Remember the more dye chips you crumble the darker your color will be.
- If you choose to use Fragrance oil, you will do this next and mix for two minutes as well.
- Allow this wax to cool down to 135 degrees Fahrenheit, and pour it into your resin mold until it reaches the top of the mold. (This mold should be on a flat surface). The mold will need to set for 4 hours before moving on to the next step.
- Next, we are going to clean our glass jar with alcohol and using the wick and sticky tape that came in your kit, place it in the center of that glass jar. Press down with a pencil. Use the popsicle stick with a hole in it that came in your kit, to center your wick.
- We are going to melt four ounces of soy wax the same way we did above. We will NOT add any color to this wax. Feel free to add fragrance oil in if you choose.
- After this has melted down to 135 degrees Fahrenheit, pour the wax into the glass jar and let it set for four hours.
- Now we can remove our candle from the mold and with the pointed end of the thermometer that came in your kit, place a hole down the center of your unmolded candle.
- The small layer of wax we placed in the bottom of our jar is going to hide the color mold so it's a surprise when someone burns the candle.
- After our bottom layer has cooled for four hours, we will slide our candle from the mold down the wick and center it as best we can. We need to make sure that the molded candle is not touching any sides of the jar.
- Heat up more wax. Add Fragrance oil at 185 if you so desire and stir for two minutes. When it cools down to 135 we will pour it over our mold.
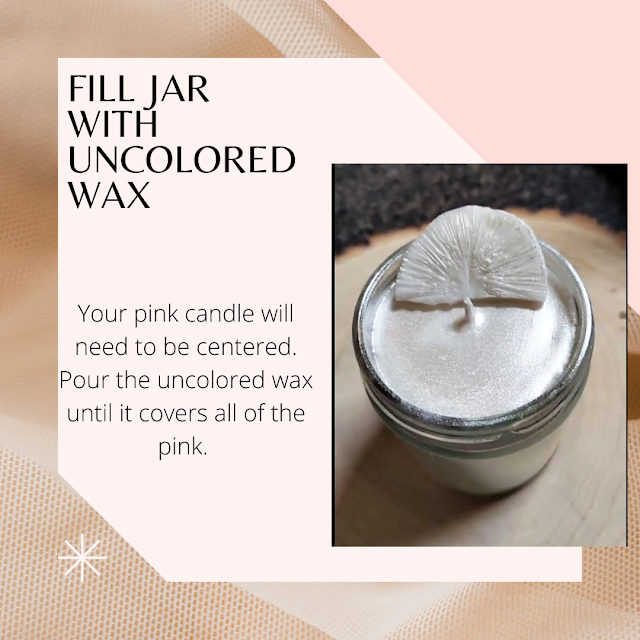
- Be very careful to keep the mold in the center as you fill the jar with wax, and make sure you cover the top of the mold so no color from the mold candles shows through. Let this set for at least four hours.
- Your mystical color candle is complete. I strongly suggest letting this candle sit for two weeks before lighting it (if you can wait that long). Trim your wick when ready, and enjoy the mystical creation you've made.